Ultra Detailed Topographic Map CNC Carvings
Mount St. Helens hillshade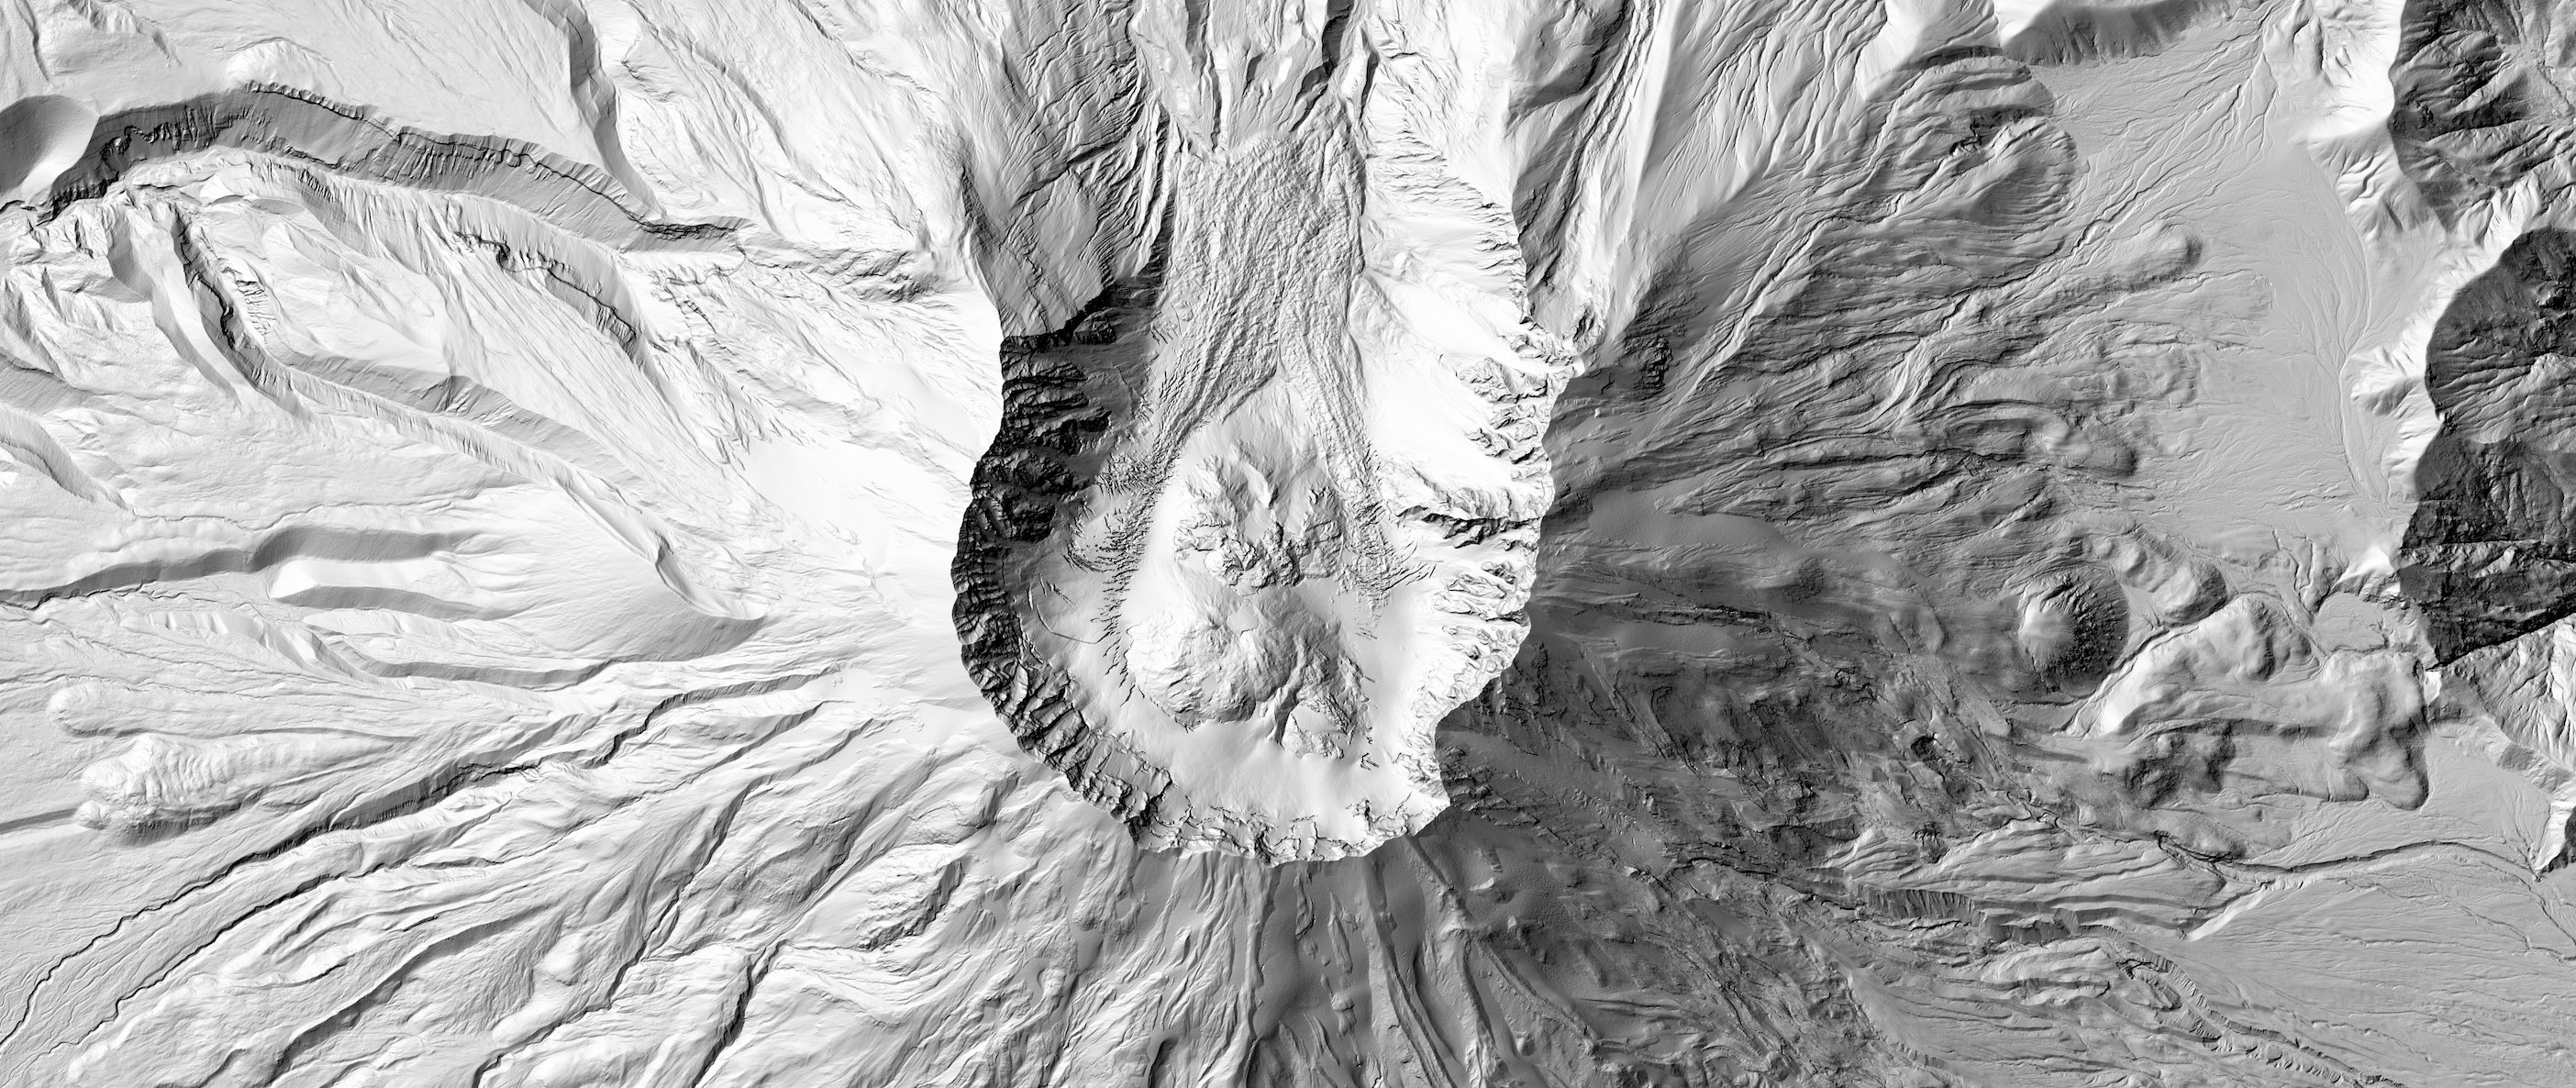
TLDR
More than 6 month ago something clicked and I got all enthusiastic about maps and topography. 2D renders were all nice and cool but real 3D topographic sculpts would really elevate the data to a higher level.
Turns out it’s hard to make detailed models and there are quite a few reasons why nobody (at least documented online) seems to have a solid working process or a comercial product that isn’t just a 2D print.
Months of trial and error, custom hardware and software, dozens of iterations, I finally got some results that can surpass comercial resin 3D printers.
Intro
Back in the fall of 2021, a few posts on HN caught my eye, they were the catalyst that started it all.
Turning real-world city data and topography into wall art seem like good fun at the time.
There are quite a lot of creators on twitter/reddit dedicated to visualizing lidar/topographical/geographical/geological data.
Here are some highlights of what can be done with open-source data:
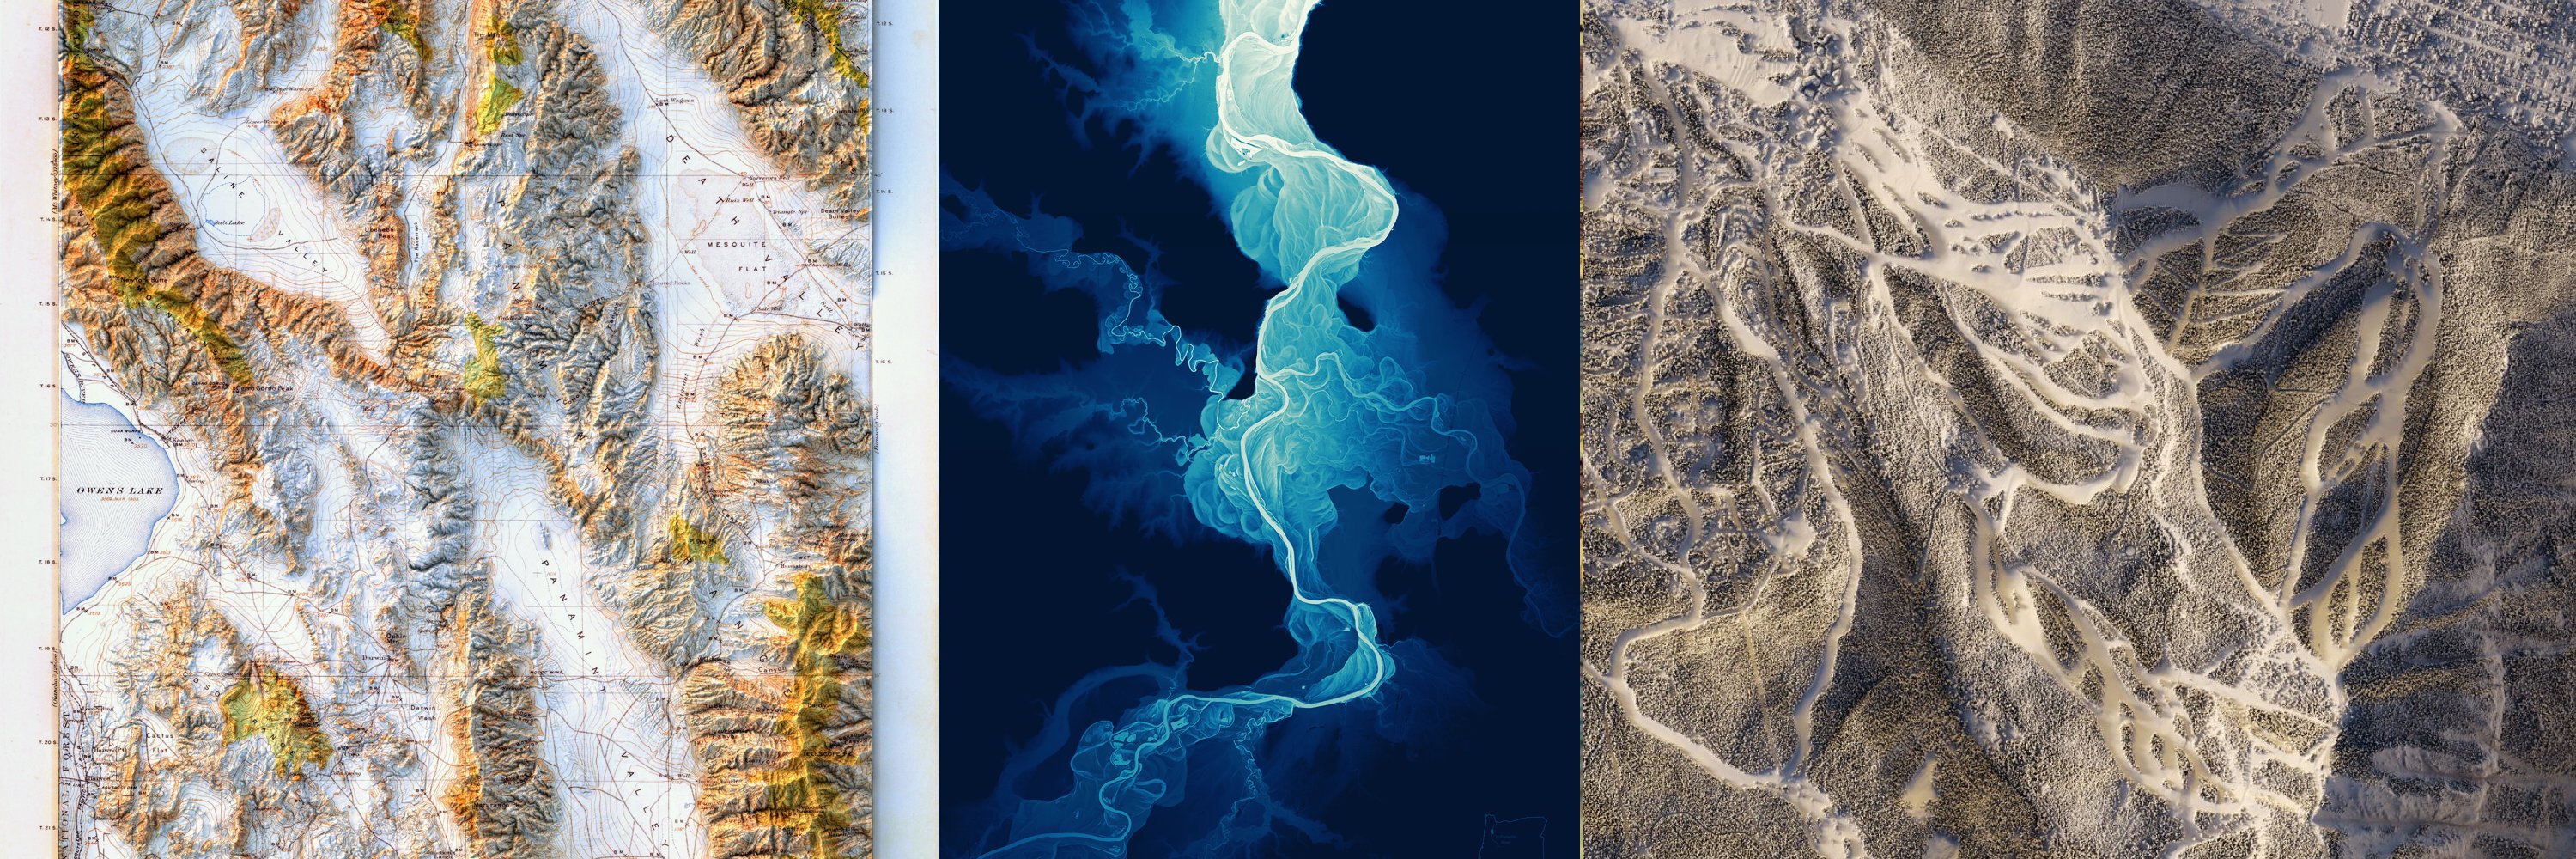
Source: @researchremora, @geo_coe, @geo_spatialist
My favorite is the textureless ones. Combine high-resolution renders with a high DPI printer and you have the ultimate wall art, that’s more or less how businesses like muir-way and ramble maps operate. While 2D prints are great, adding one more dimension would do a lot more justice to the lidar terrain scans.
3D Prints and CNC Sculpts
Resin 3D prints
Things get messy here, both figuratively and literally, the trial and error, the post-processing, and the fact that I’ll either end up with a sharp pixelated print or a smooth one that lacks the details that were present in the 3D model are enough to make it not the right tool for the job.
What are 3D printers good are overhanging and hollow strucures, the type of features impossible to execute on a 3-axis CNC machine.
Here’s a perfect example of extraordinary details and voxelization/aliasing.
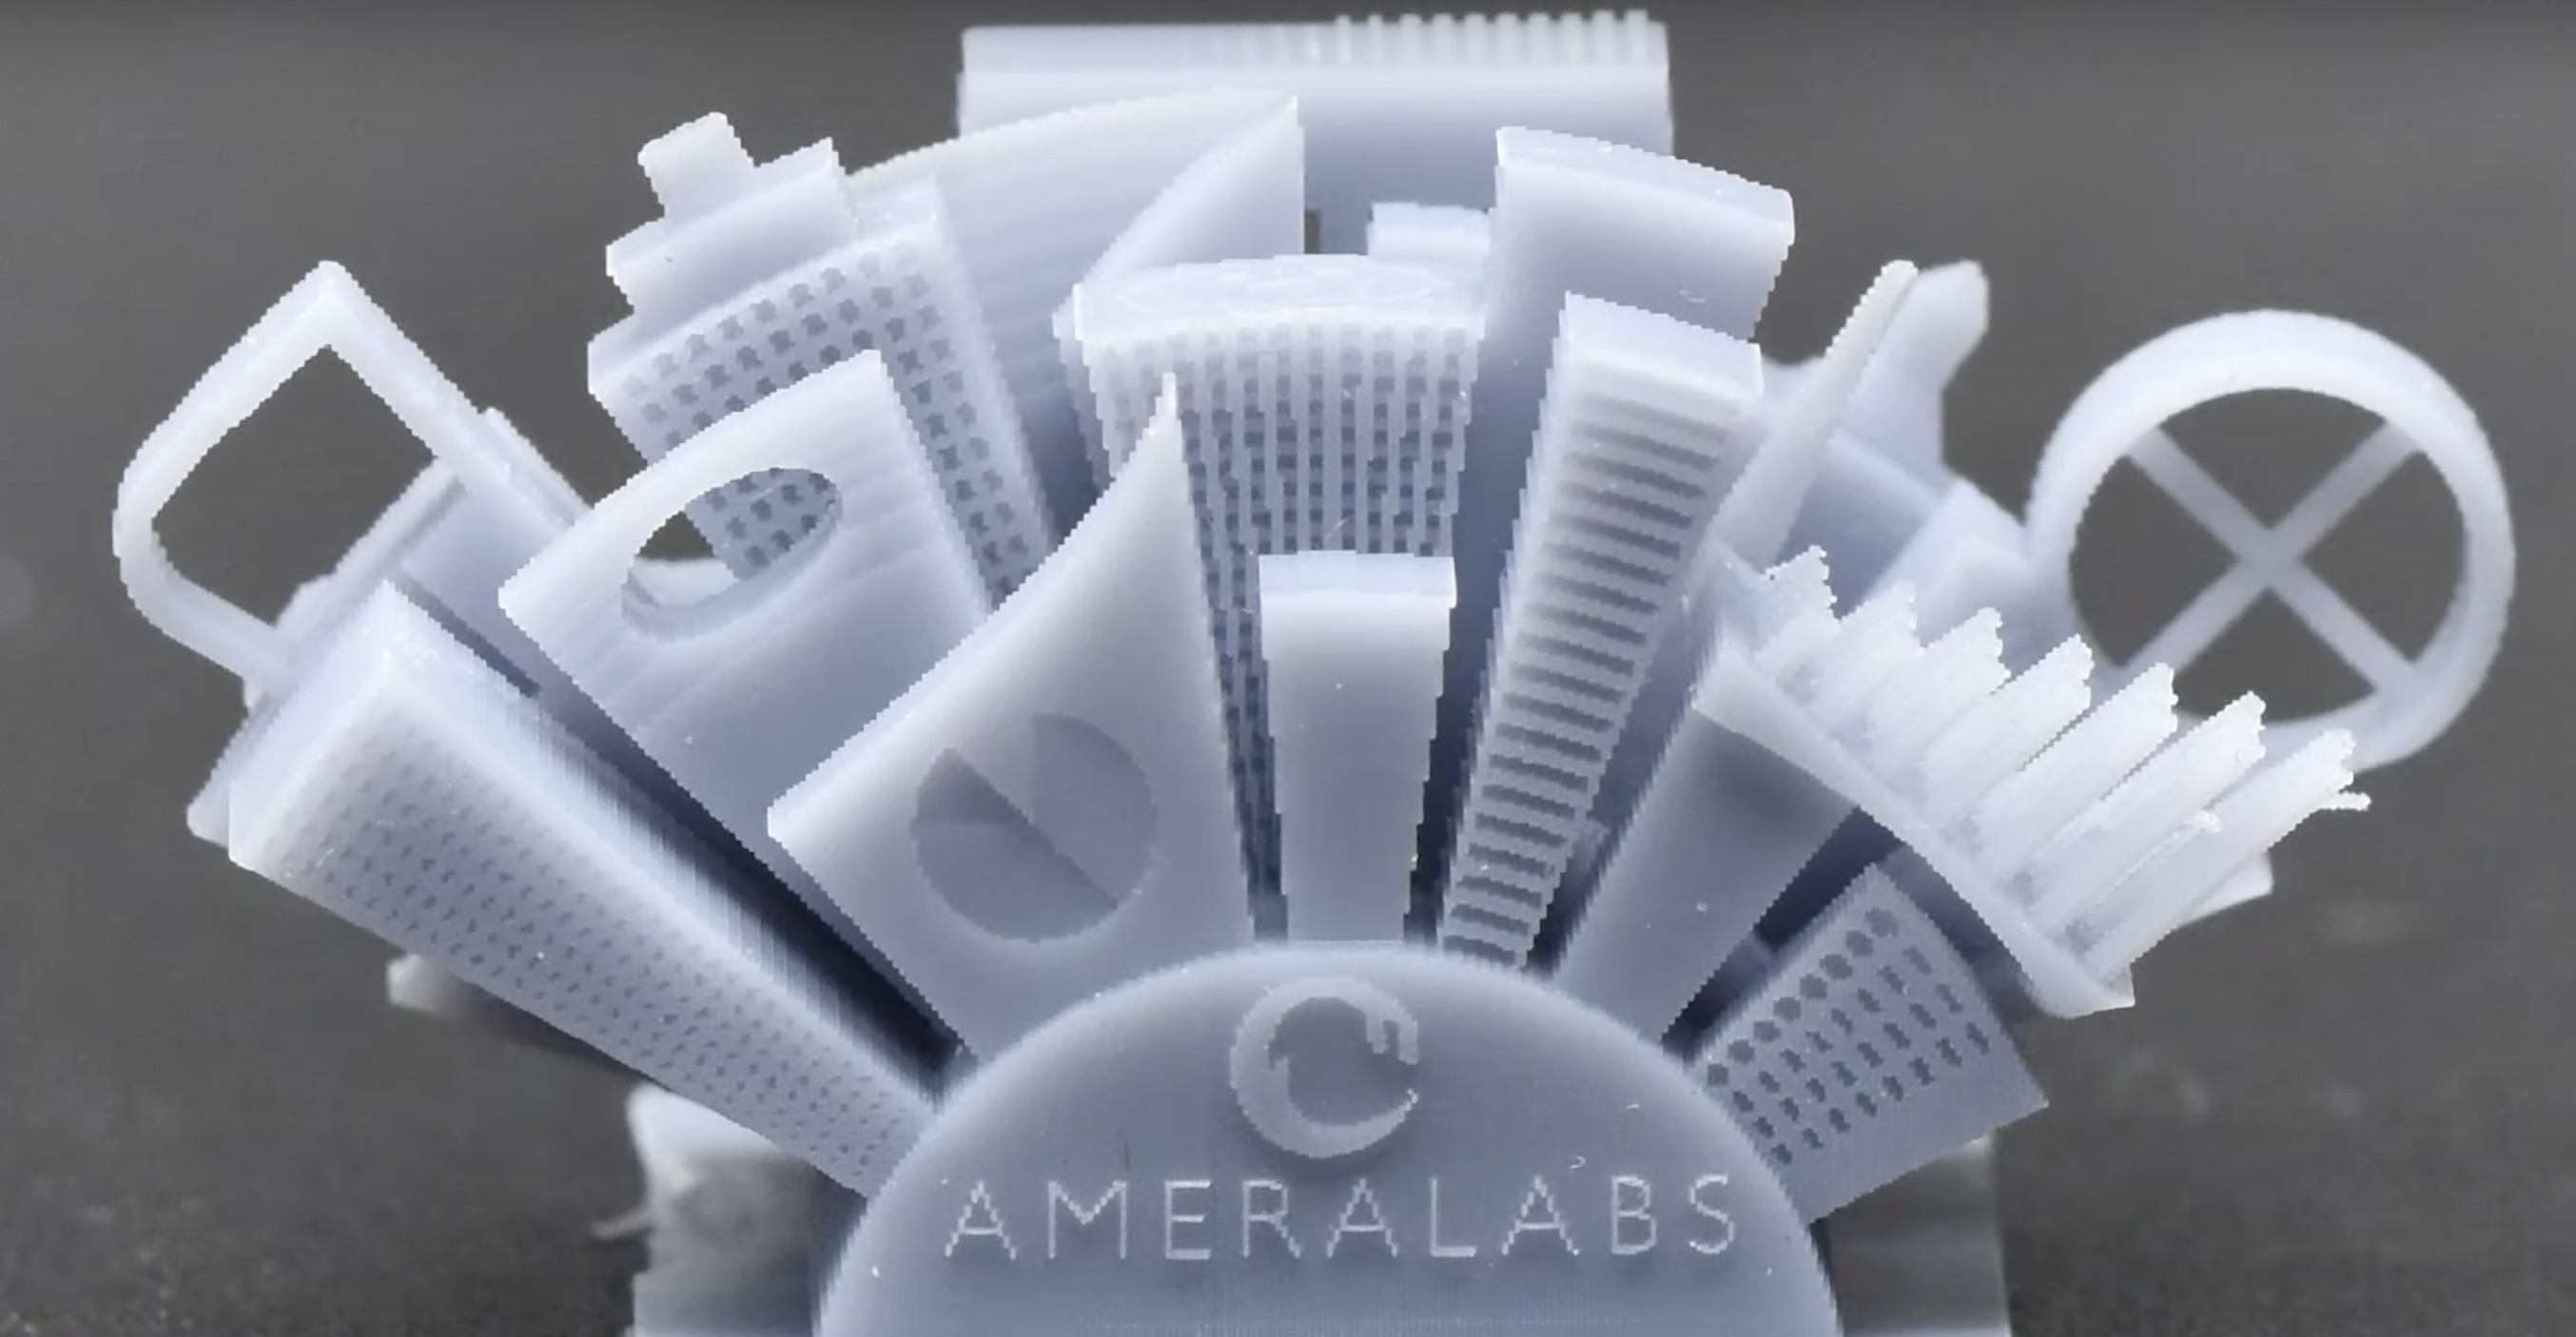
Source: VOG
Are these artifacts an issue or not comes down to the scale of the print and detail density, it might be an issue for what I’m aiming for. As for FDM printers they are automatically disqualified because of their thick layer lines and relatively massive nozzles.
CNC sculpts
The existing software pipelines don’t play well with detailed and dense CNC carvings, the resulting carvings are even less detailed than the 3D printed counterparts.
The first issue is the tool size typically used for CNC carvings, they’re just too big and in conjunction with the runout of a typical spindle, it just doesn’t make any sense to try and accurately reproduce the terrain on a small area.
The second issue is the software pipelines used to convert the DTM(digital terrain model) to G-code(CNC programming language). Normally the first step is to convert the DTM to a 3D model, that’s where some losses occur because having a 1:1 feature parity between the 3D model and the DTM is just too expensive CPU and memory-wise.
Here’s a typical topographic carving workflow.
Then the conversion from a 3D model to G-code for the CNC machine takes more than one hour(using Fusion 360 and a relatively sparse on details 3D model), that’s if the software doesn’t crash.
Using the traditional tools and trying to set a record number of features per square mm is just not feasible.
Mount St. Helens
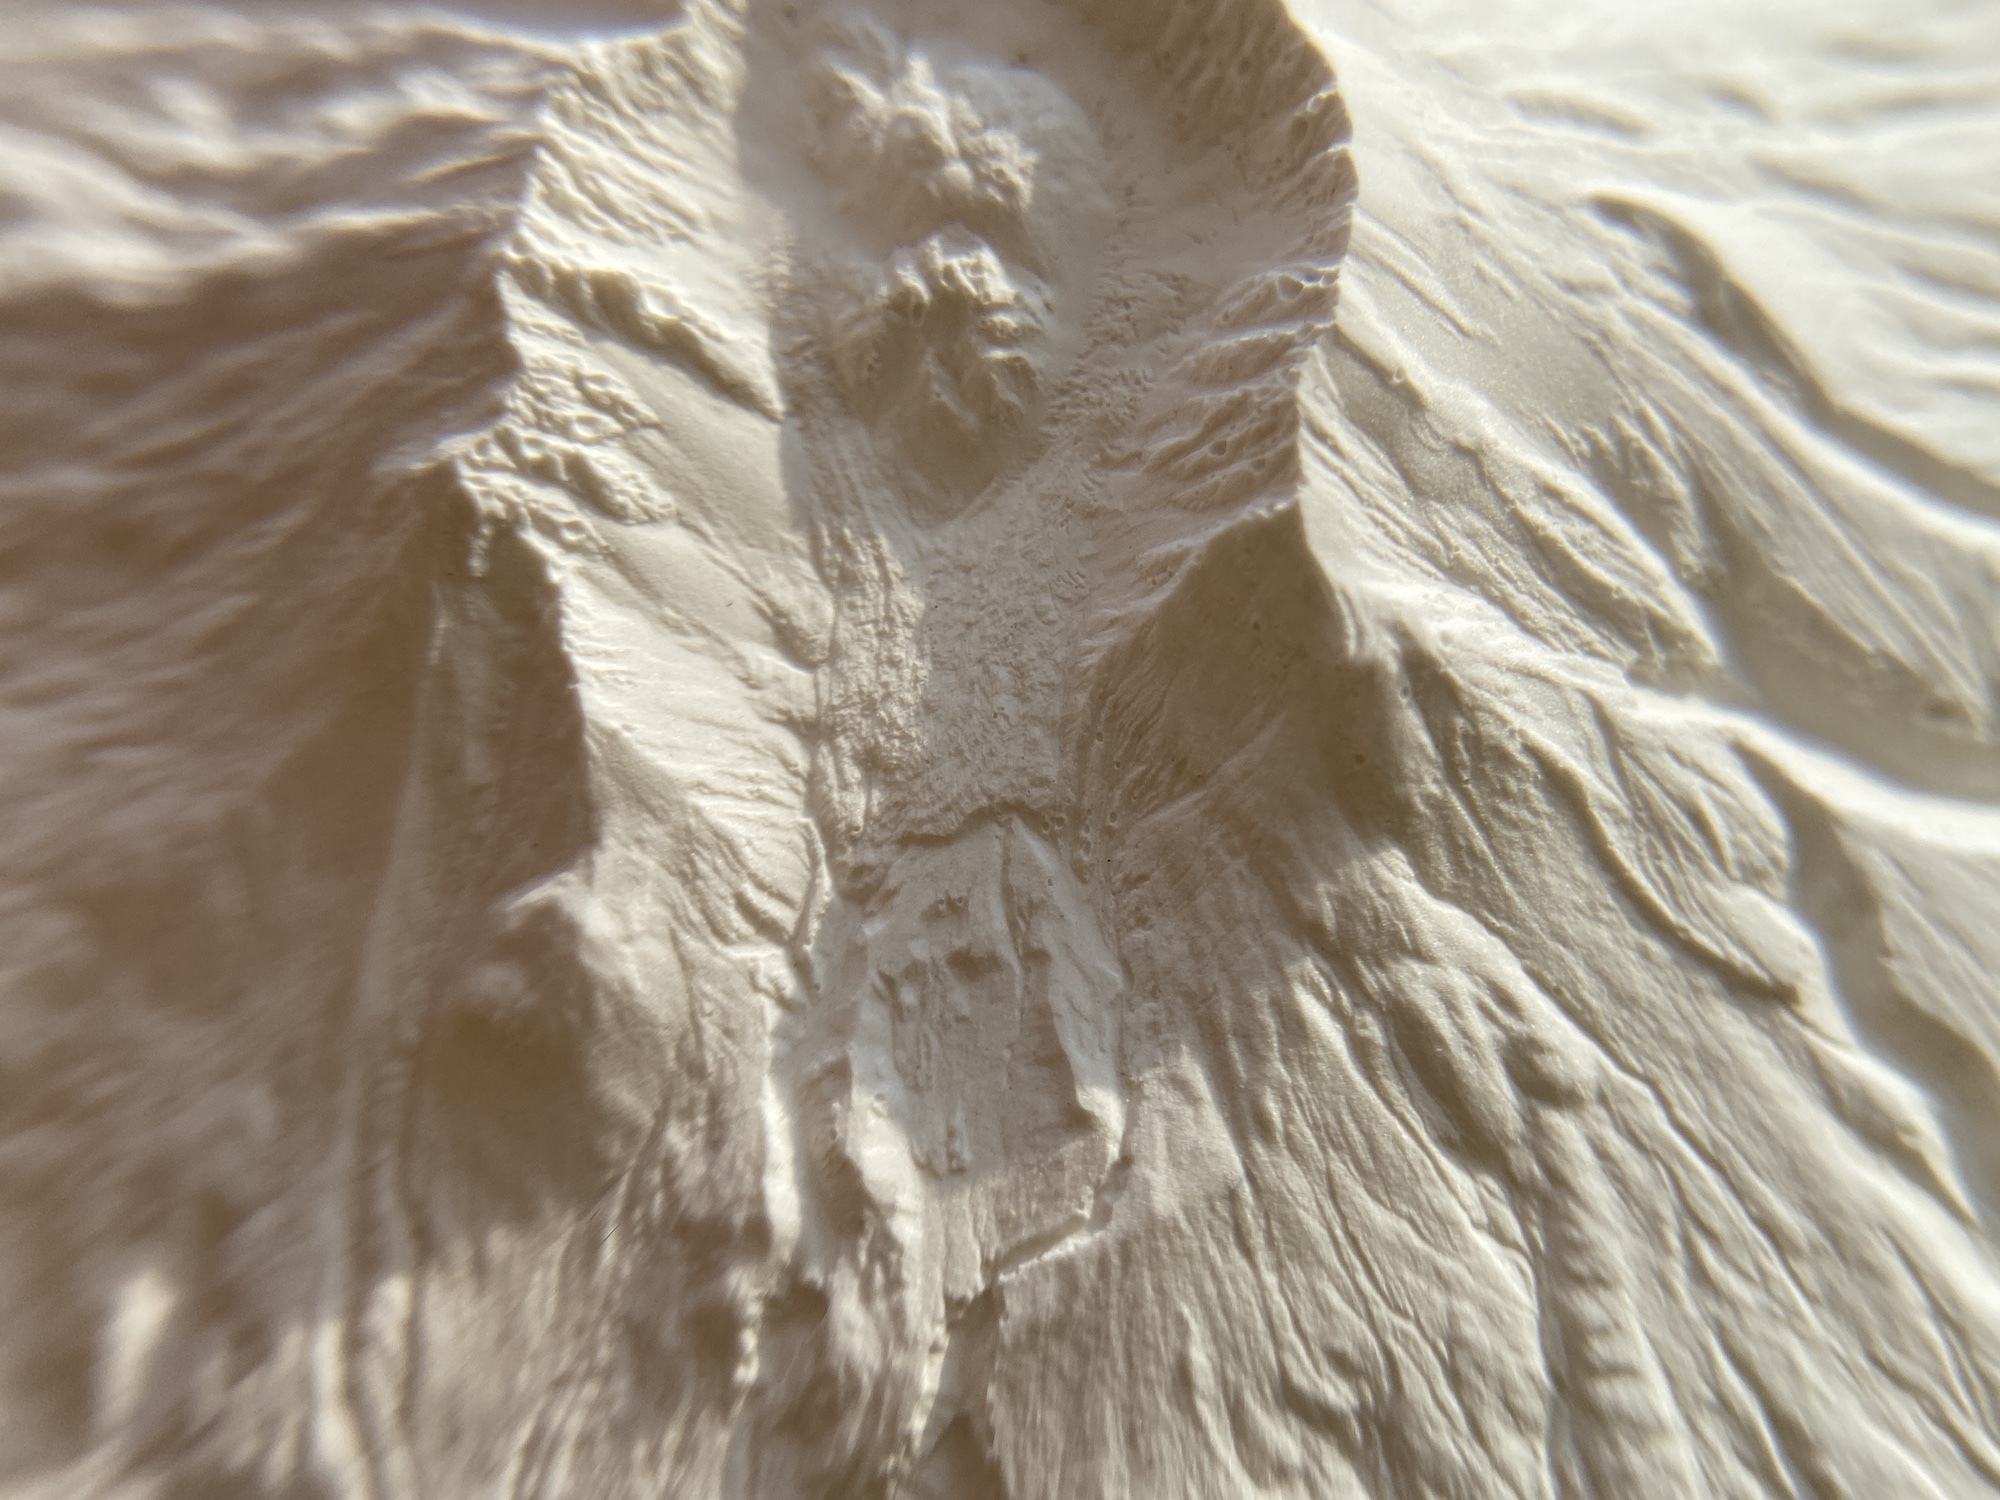
As a case study let’s analyze a Mount St. Helens carving. The source DTM has a resolution of 1m per pixel, respectively a 10x10km area is a 100 megapixels DTM TIFF image, to accurately represent the terrain onto a 100x100mm sculpt the machine it would need to make 10000 parallel passes with a stepover of 10 microns between passes, that’s twice as small than the diameter of human hair.
Here’s Dom Ricobene attempting Mount St. Helens at 1km = 5mm
Micro Mount Saint Helens. Draft 3D print in ABS and finished on a CNC machine. 1 km = 5 mm. #gischat pic.twitter.com/LrTpdrWV47
— Dom Riccobene (@DomRiccobene) March 25, 2022
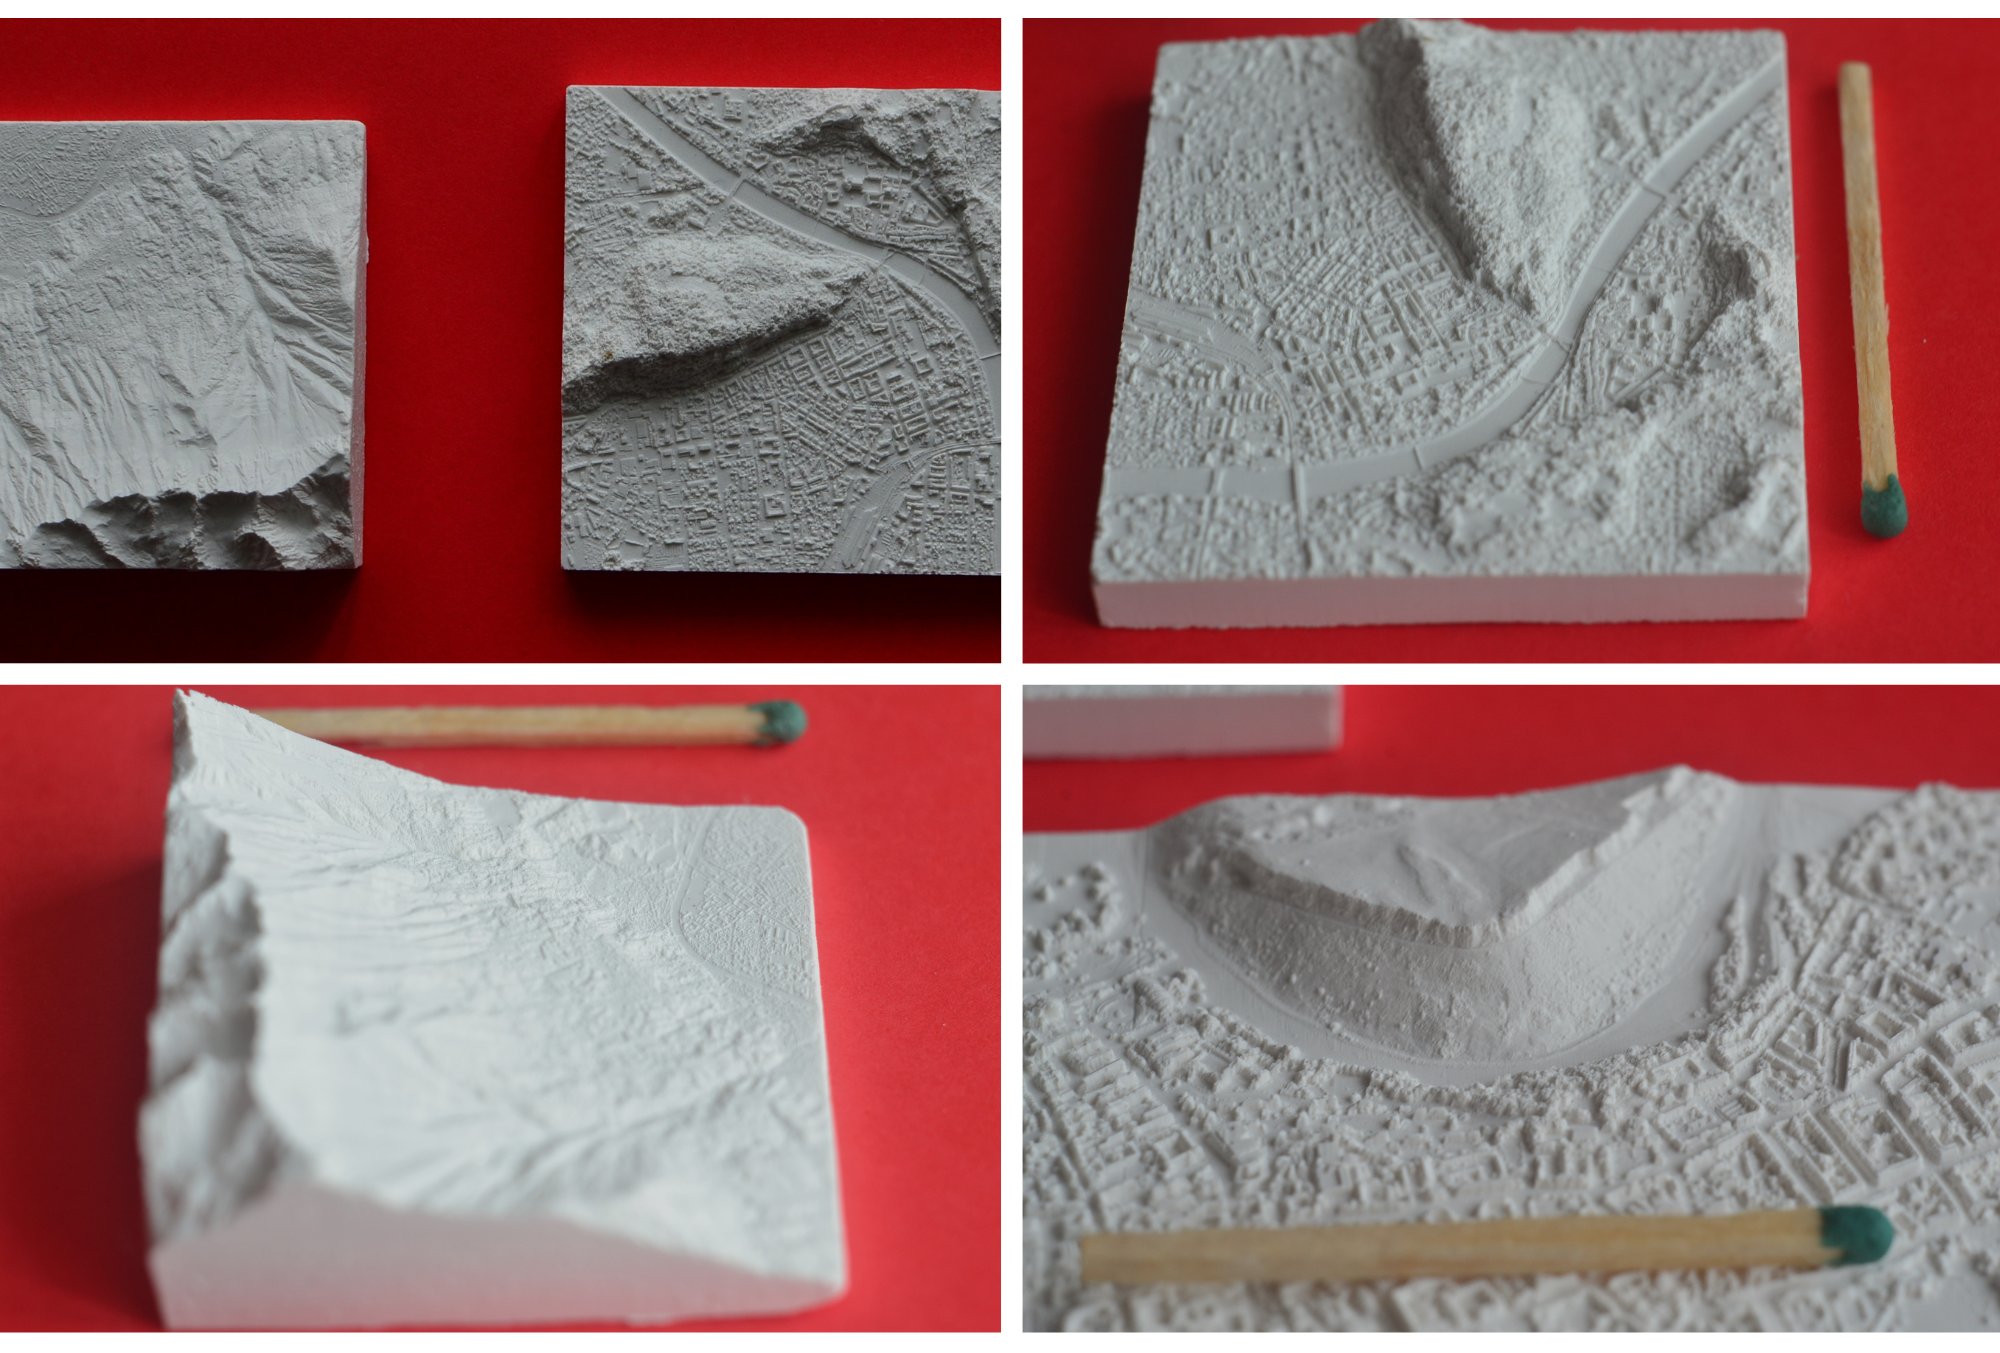
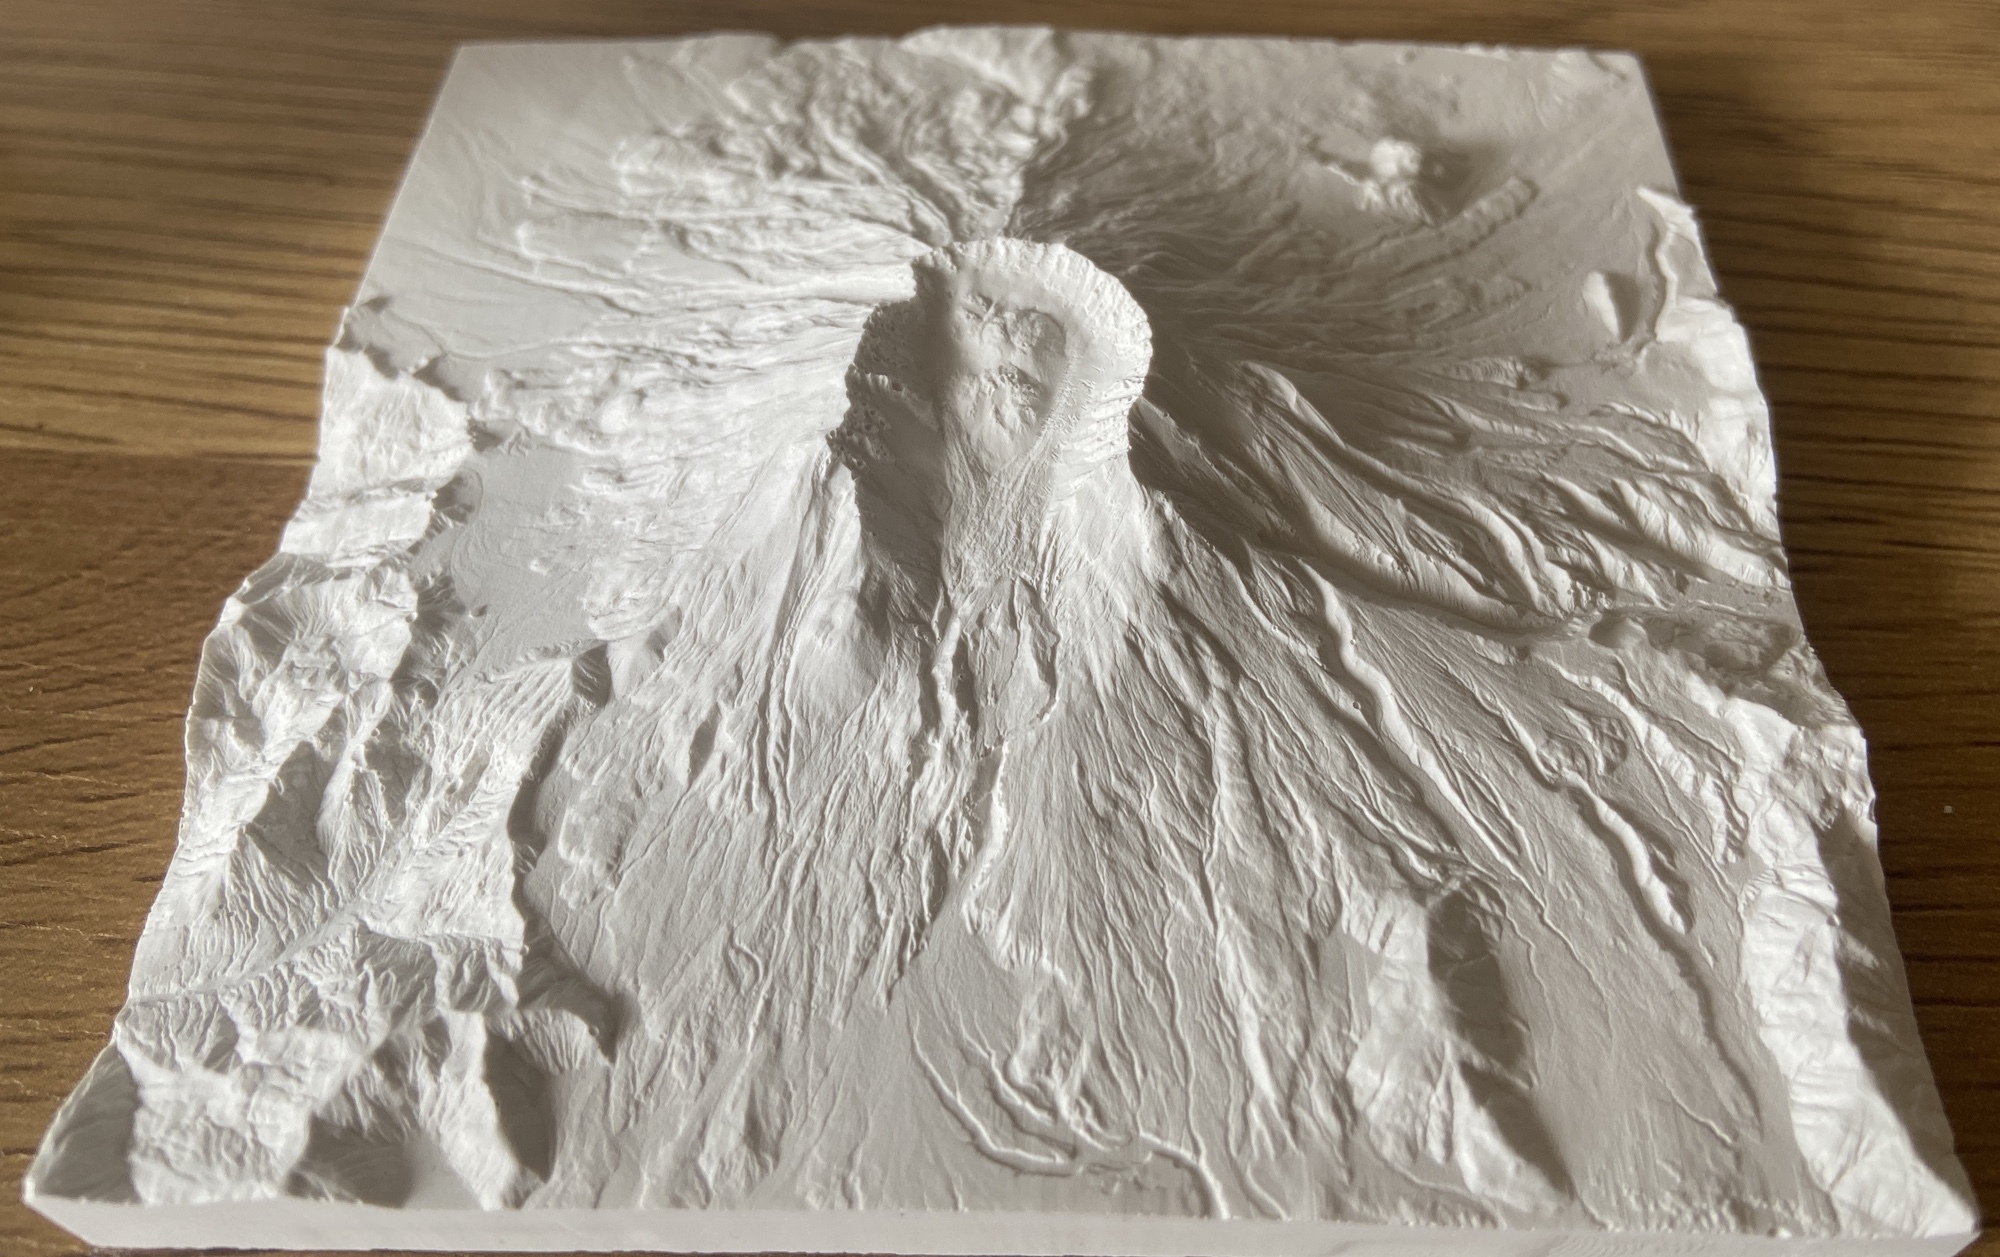
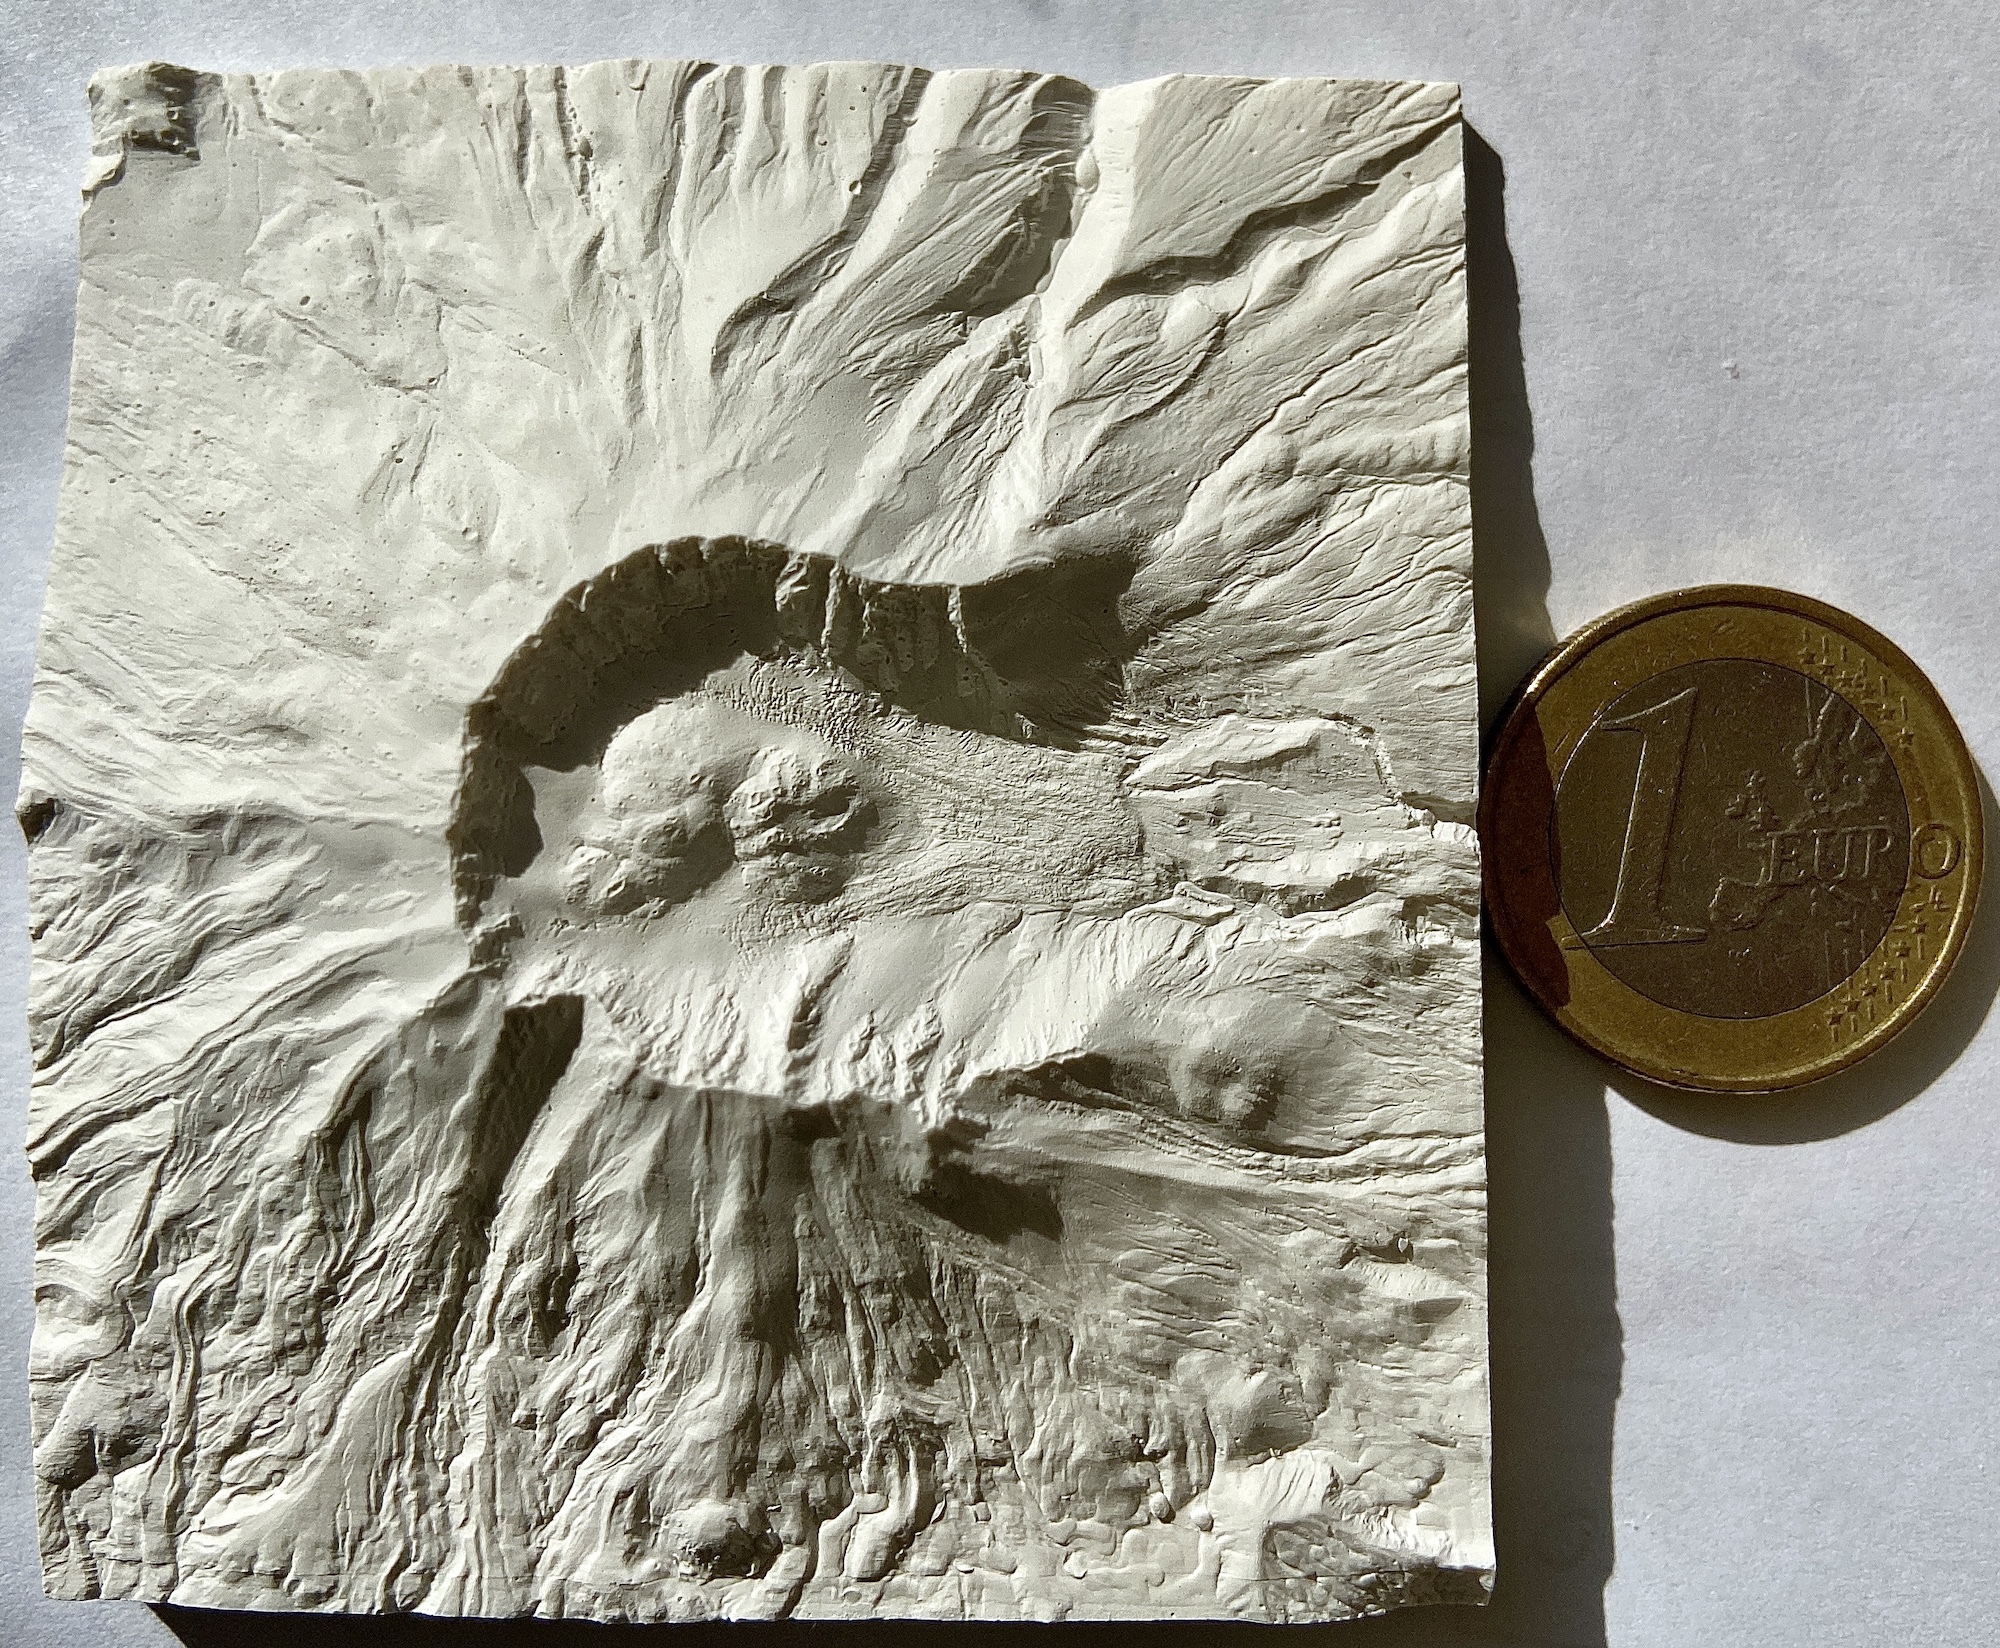
Here’s my attempt at a similar scale (1km = 7.5mm) with custom software and hardware tools.
The Hardware
Hardware is hard.
I did not know much about CNC machines, to learn more and get my hands dirty I got the cheapest 3018 style machine available on Aliexpress. That was a mistake, the machine’s rigidity is maybe good enough to cut cheese slowly with any kind of accuracy and repeatability.
Long story short I felt like I outgrew that CNC in two weeks, and after many weeks spent analyzing its shortcoming and trying to fix them I decided to build my own.
Early Mount St. Helens cast
Started building/designing my CNC based on the open-source Indymill but by using other types of aluminium extrusions, motors, lead screws, and 3D printed parts that should be replaced with metal ones if I ever plan to cut something hard.
As for electronics and control board, I used an ESP32 microcontroller and Barts 6 Pack universal CNC Controller with TMC2209 drivers and Nema 17 motors, very smooth operation and plenty of torque, not that I need much to cut wax.
All I can write about the spindle and the cutting bits at the moment is that they’re based on commercially available parts that were further improved/ground/customized. Since I couldn’t find public writings that mention any of the modifications that I’ve done I guess I’m into trade secrets territory, how exciting!
The Software
Considering the issues described above it’s clear that a custom solution is needed to convert the DEM straight to G-code.
The resulting unoptimized single-threaded code is fast enough to turn a 100 megapixels DEM file straight into ~1GB G-code file in under 1 minute skipping any intermediate lossy steps.
Master model material
The perfect material for master models should be easily machinable, capable of holding micrometer sized details and easy to obtain. Medium-high density polyurethane modeling boards are popular in the prototyping industry, but relatively unpopular with hobbyists because of their extreme prices.
Plaster-resin cast and the wax master model
The alternative is machinable wax, which is just a mix of paraffin wax and polyethylene (80/20 mix), arguably a much suitable prototyping material for hobbyists because of the low price and trivial recycling procedure. The ability to be melted down and reused is the best part because as hobbyist mistakes will be made. While the wax models don’t look appealing because they’re translucent and don’t cast shadows very well, the copies are usually made in more opaque materials like polyurethane, plaster-resin compounds, or metal.
Engineering plastics may be an alternative, but they’re not cheap, wood-based materials like MDF or valchromat may work for bigger scale models.
The results
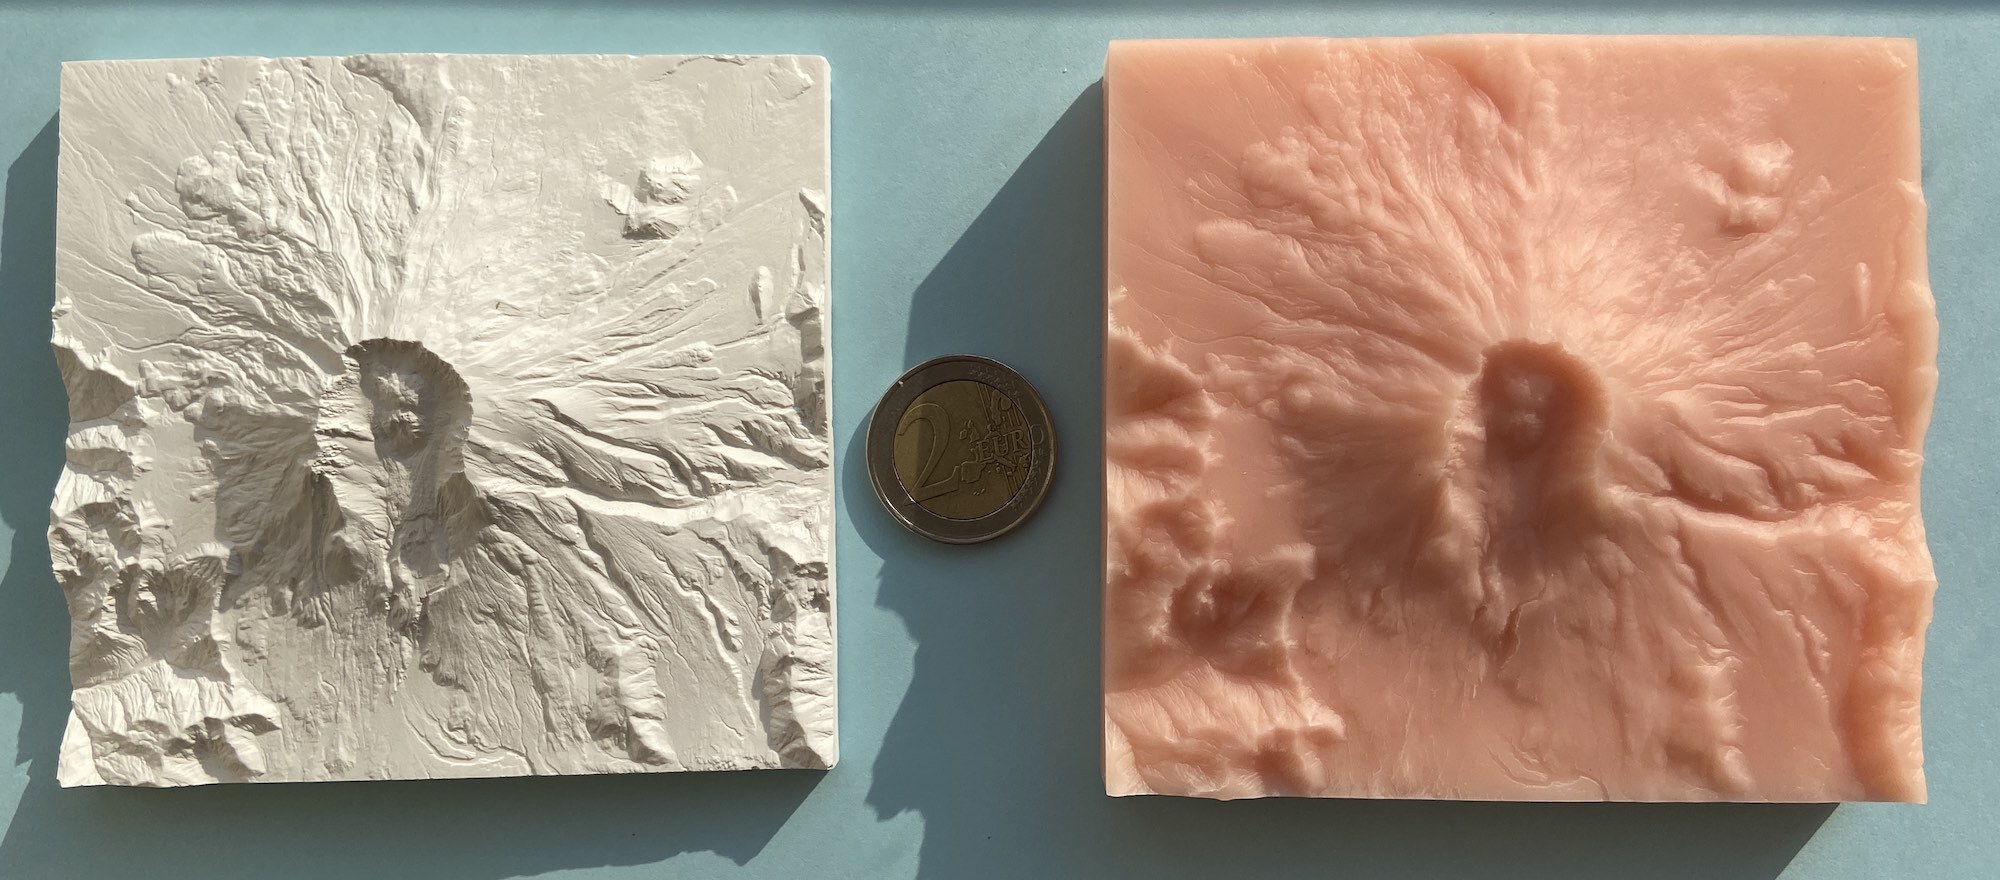
The results are ultra-detailed wax master models that can be copied with a 2 part RTV silicone, the silicone mold can be used to make plastic or plaster-resin copies of the master model.
Casting and mold making is another whole bucket of worms. Bubble-free castings are a challenge even for professionals.
As for resources to learn more about the craft here’s the Guerrilla guide to CNC and resin casting and Robert Tolone excelent YouTube channel that goes deep into mold making and castings parts.
What’s next
Learned a lot about CNC machines, GIS tools and developed some unique CNC tools and techniques, feels like the end of a beginning, still have a few microns to chase and figure out the casting process.